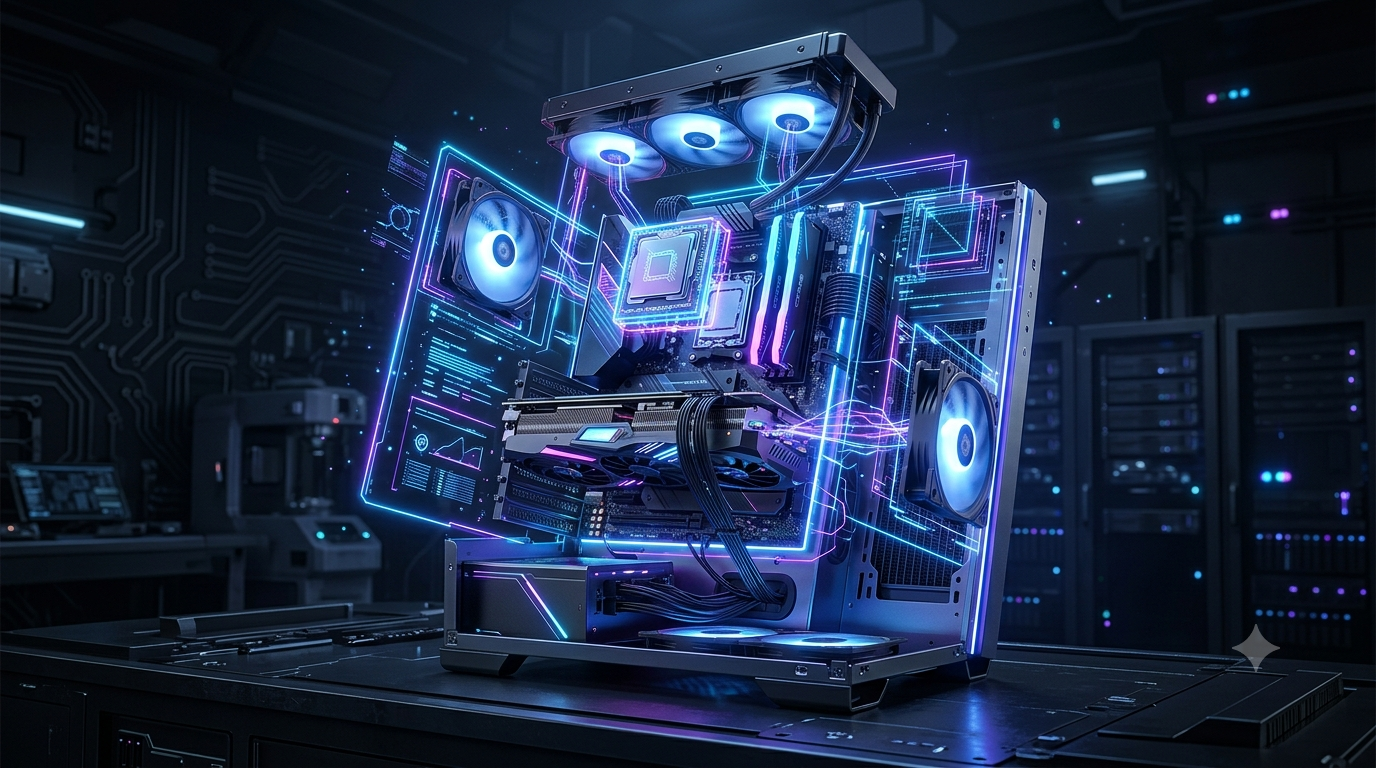
There’s a specific kind of anxiety that comes with building your first PC. You’ve watched a few YouTube videos, read a couple of forum threads, and now you’re staring at a cart full of components worth more than your first car, convinced that one wrong move will fry something expensive. Here’s the truth that doesn’t get said enough: modern PC parts are designed to be nearly impossible to plug in wrong. The connectors are keyed, the sockets are labeled, and the actual risk of destroying something through normal assembly is much lower than the internet’s collective anxiety suggests.
This guide walks through the process the way someone would explain it to a friend — not a spec sheet, an actual sequence of decisions and steps
.
Step 1: Set a Real Budget Before You Look at a Single Part
The single biggest mistake first-time builders make isn’t a technical one — it’s picking parts in the wrong order. People fall in love with a specific graphics card, build a budget around it, and end up with a machine that’s lopsided: an amazing GPU paired with a CPU that can’t keep up, or plenty of storage but not enough power supply headroom.
Instead, decide your total budget first, then split it roughly like this for a gaming-focused build:
- GPU: 35-40% of your budget — this affects gaming performance the most
- CPU: 15-20%
- RAM: 8-10%
- Storage: 8-10%
- Motherboard: 10-12%
- Power supply: 8-10%
- Case: 5-8%
- Cooling: 3-5% (if not already included with your CPU)
This isn’t a rigid formula, but it stops the common trap of overspending on one flashy component while starving the rest of the system.
Step 2: Understand What Each Part Actually Does (In Plain Terms)
You don’t need to become an engineer, but knowing what each component’s job is makes every later decision easier.
The CPU (processor) is the general-purpose brain of the computer — it handles game logic, physics calculations, background tasks, and basically everything that isn’t rendering the image on screen.
The GPU (graphics card) draws what you actually see — textures, lighting, resolution, frame rate. For gaming specifically, this is usually the component that matters most, which is why it gets the biggest budget share.
RAM (memory) is short-term working space. Not enough, and your system has to constantly swap data in and out of storage, which causes stutters and slowdowns. For gaming in 2026, 16GB is the realistic minimum and 32GB gives comfortable headroom if you multitask heavily (streaming, Discord, a browser with dozens of tabs, all while gaming).
Storage is where everything lives permanently. An SSD (solid-state drive) should be your only consideration at this point — the days of using a spinning hard drive as your main drive are over for a gaming build. The only real decision is capacity and whether you want NVMe (faster) or SATA (cheaper, still plenty fast for most people).
The motherboard is the switchboard everything plugs into. It doesn’t make your PC faster on its own, but it determines what CPU you can use, how much RAM you can install, and how many drives and peripherals you can connect.
The power supply (PSU) feeds electricity to everything. This is genuinely not a place to cut corners — a cheap, poorly made PSU is one of the few components that can actually damage other parts if it fails badly. Buy from a reputable brand with a solid efficiency rating, sized appropriately for your components with some headroom.
The case holds everything and manages airflow. Bigger isn’t automatically better — what matters is whether air can move through it cleanly.
Step 3: Pick Your CPU and Motherboard Together
This is the step that trips people up most, because CPUs and motherboards have to match on socket type — the physical and electrical interface between them. If you pick a CPU and then discover no motherboard in your price range supports its socket, you’ve wasted research time.
The practical approach: decide roughly how much CPU performance you need (gaming-focused builds often don’t need the absolute top-tier CPU — a mid-range current-generation chip is usually enough, since the GPU does more of the heavy lifting for gaming specifically), then search for “[that CPU model] compatible motherboards” to see your actual options before falling in love with either part individually.
A quick sanity check most beginners skip: make sure the motherboard’s RAM slots and maximum supported RAM actually match what you’re planning to install, and that it has enough drive slots (M.2 for NVMe SSDs, SATA ports for anything else) for your storage plan.
Step 4: Choose RAM That Matches Your Motherboard’s Sweet Spot
RAM has speed ratings (measured in MHz) alongside capacity. Faster RAM helps a bit with gaming performance, particularly on certain CPU architectures, but going drastically overboard on speed for a small performance gain often isn’t worth the price premium for a first build. Check your motherboard’s supported RAM speeds and aim for something comfortably within that range rather than chasing the highest number on the shelf.
Buying RAM in a matched kit (two sticks sold together) rather than mixing individual sticks avoids a surprising number of stability headaches — motherboards are tested against specific kit configurations, and running mismatched or single sticks in dual-channel slots can quietly cost you performance without any obvious error message telling you why.
Step 5: Assembly — The Part That’s Less Scary Than It Looks
Here’s a realistic order of operations, based on what actually makes assembly easier rather than the order some guides arbitrarily present it in:
Build outside the case first. Place the motherboard on its own box or an anti-static surface, install the CPU, RAM, and any M.2 storage while you have full access to every socket. Trying to do this once the motherboard is mounted inside a case is unnecessarily awkward for a first build.
Installing the CPU is the step people are most nervous about, and it’s genuinely simple: open the socket lever, align the small triangle or notch marker on the CPU with the corresponding marker on the socket, lower it in gently (never force it), and close the lever. If it doesn’t drop in smoothly, stop — it’s not aligned, not a sign to push harder.
RAM clicks into slots with an audible snap on both sides. Check your motherboard manual for which slots to use first if you’re not filling all of them — populating the wrong slots can prevent dual-channel mode from working, which quietly costs performance.
Mount the CPU cooler according to its specific instructions — this varies enough between cooler models that generic advice isn’t that useful here; the included manual is genuinely your best resource for this one step.
Install the motherboard into the case, aligning it with the pre-installed standoffs (small metal or plastic spacers that keep the board from touching the case directly, which would short it out). Most cases come with these pre-installed in the correct position for standard motherboard sizes.
Install the power supply, then run cables before installing the graphics card — it’s much easier to route cables cleanly when the GPU isn’t in the way.
Install the GPU into the top PCIe slot, secure it, and connect its power cables if required (most mid-range and higher cards need supplementary power beyond what the slot itself provides).
Connect front-panel cables — power button, USB ports, audio jack, and any case LEDs. This is the single most fiddly part of a build, mostly because the pins are tiny and the labeling is inconsistent between case brands. Take your time and use the motherboard manual’s diagram rather than guessing.
Step 6: The First Boot
Before closing the case up, do a first boot with everything connected but the case panels off. This lets you confirm things power on and catch any obvious issues (a fan not spinning, no display output) before you’ve fully sealed everything up.
If you get no display, the most common first-build culprits, roughly in order of likelihood, are: the monitor cable plugged into the motherboard’s video output instead of the graphics card’s (an easy mistake — motherboards often have their own video port that does nothing once a GPU is installed), RAM not fully seated, or the GPU’s power cable not connected. Genuine hardware failures are much rarer than these simple oversights.
Step 7: Install Your OS and Drivers
Once you’ve confirmed everything boots and gets into BIOS/UEFI (the screen you see before an operating system loads), create a bootable USB drive with Windows (or your OS of choice) using the official media creation tool, install it, then immediately install the latest chipset drivers from your motherboard manufacturer and GPU drivers from NVIDIA or AMD directly. Skipping manufacturer-specific drivers in favor of whatever Windows Update installs automatically is a common source of “why is my new PC not performing the way it should” complaints.
What First-Time Builders Consistently Get Wrong
Beyond the technical steps, a few patterns show up again and again:
- Underestimating the power supply. Buying exactly enough wattage for today’s components leaves no headroom for a future GPU upgrade and stresses the PSU running near its limit constantly.
- Ignoring case airflow. A beautiful case with poor airflow will run hotter than a plain case with well-placed fans, and heat quietly costs you performance and component lifespan over time.
- Skipping the BIOS. Enabling XMP/EXPO (a one-click setting that runs your RAM at its rated speed instead of a conservative default) is something a surprising number of new builds miss entirely, leaving real performance on the table.
- Cable management as an afterthought. Beyond looks, poor cable routing can restrict airflow and make future upgrades genuinely painful.
The Bottom Line
Building your first PC is far more forgiving than the internet’s reputation for it suggests. The parts are keyed to prevent most wrong-way installations, the tolerance for minor imperfection is higher than you’d think, and the actual failure points are almost always simple oversights — a cable not fully seated, a setting left on default — rather than catastrophic mistakes. Take it slow, keep the manual open, and don’t let the fear of “doing it wrong” stop you from starting. Most people finish their first build a little surprised at how straightforward it actually was.